The conference you signed up for is in two weeks, but you haven't started with the slides yet. Focusing on the content should be your top priority, so you start putting together an outline with Google Slides. Nevertheless, you quickly realize that formatting the presentation will take forever: choosing the right font, a background that fits, unique images ... why the spacing between elements is always inconsistent between slides?
I faced this situation when preparing the slides for my presentation on Docs as Code for PyCon APAC 2020. The clock was ticking, so I ended writing the slides in plain text while looking for an alternative to convert these annotations into visually appealing slides.
The tool I ended up choosing was Marp. At first, I was skeptical if Marp would offer the flexibility required to design slides using Markdown, but now I can say I'm happy with the result. So here is what I learned.
Creating the presentation
No matter which tool you use to create the presentation, the first step is to know what you want to explain. Once you have the topic, open a new file with the extension .md. Then, write your notes for your presentation in plain text using Markdown syntax.
New to Markdown? Here is a cheat sheet with the most common annotations you'll need to format titles, links, and tables.
Organizing the presentation
Once you have all the content outlined, split the slides with the annotation ---. Here is an example.
# Slide 1

* Item 1
* item 2
* Item 3

---

# Slide 2

## Subtitle

Lorem ipsum dolor sit amet, consectetur adipiscing elit.
Creating slides with Marp
Marp is the framework we'll use to turn Markdown into a beautiful slide deck. Unfortunately, the tool is not available as a web application, so you'll need a bit of experience playing with the terminal to use the tool.
For example, try to run one of the following commands to convert a Markdown slide deck into HTML, PDF, or PTTX. Replace PITCHME.md with your file name.
# Convert slide deck into HTML
npx @marp-team/marp-cli PITCHME.md --html

# Convert slide deck into PDF
npx @marp-team/marp-cli PITCHME.md --pdf

# Convert slide deck into PowerPoint document (PPTX)
npx @marp-team/marp-cli PITCHME.md --pptx
Do you want to preview the slides while you edit the contents? To run Marp in watch mode, run the following command instead:
npx @marp-team/marp-cli -w PITCHME.mdThen, open the resulting HTML file with your preferred browser.
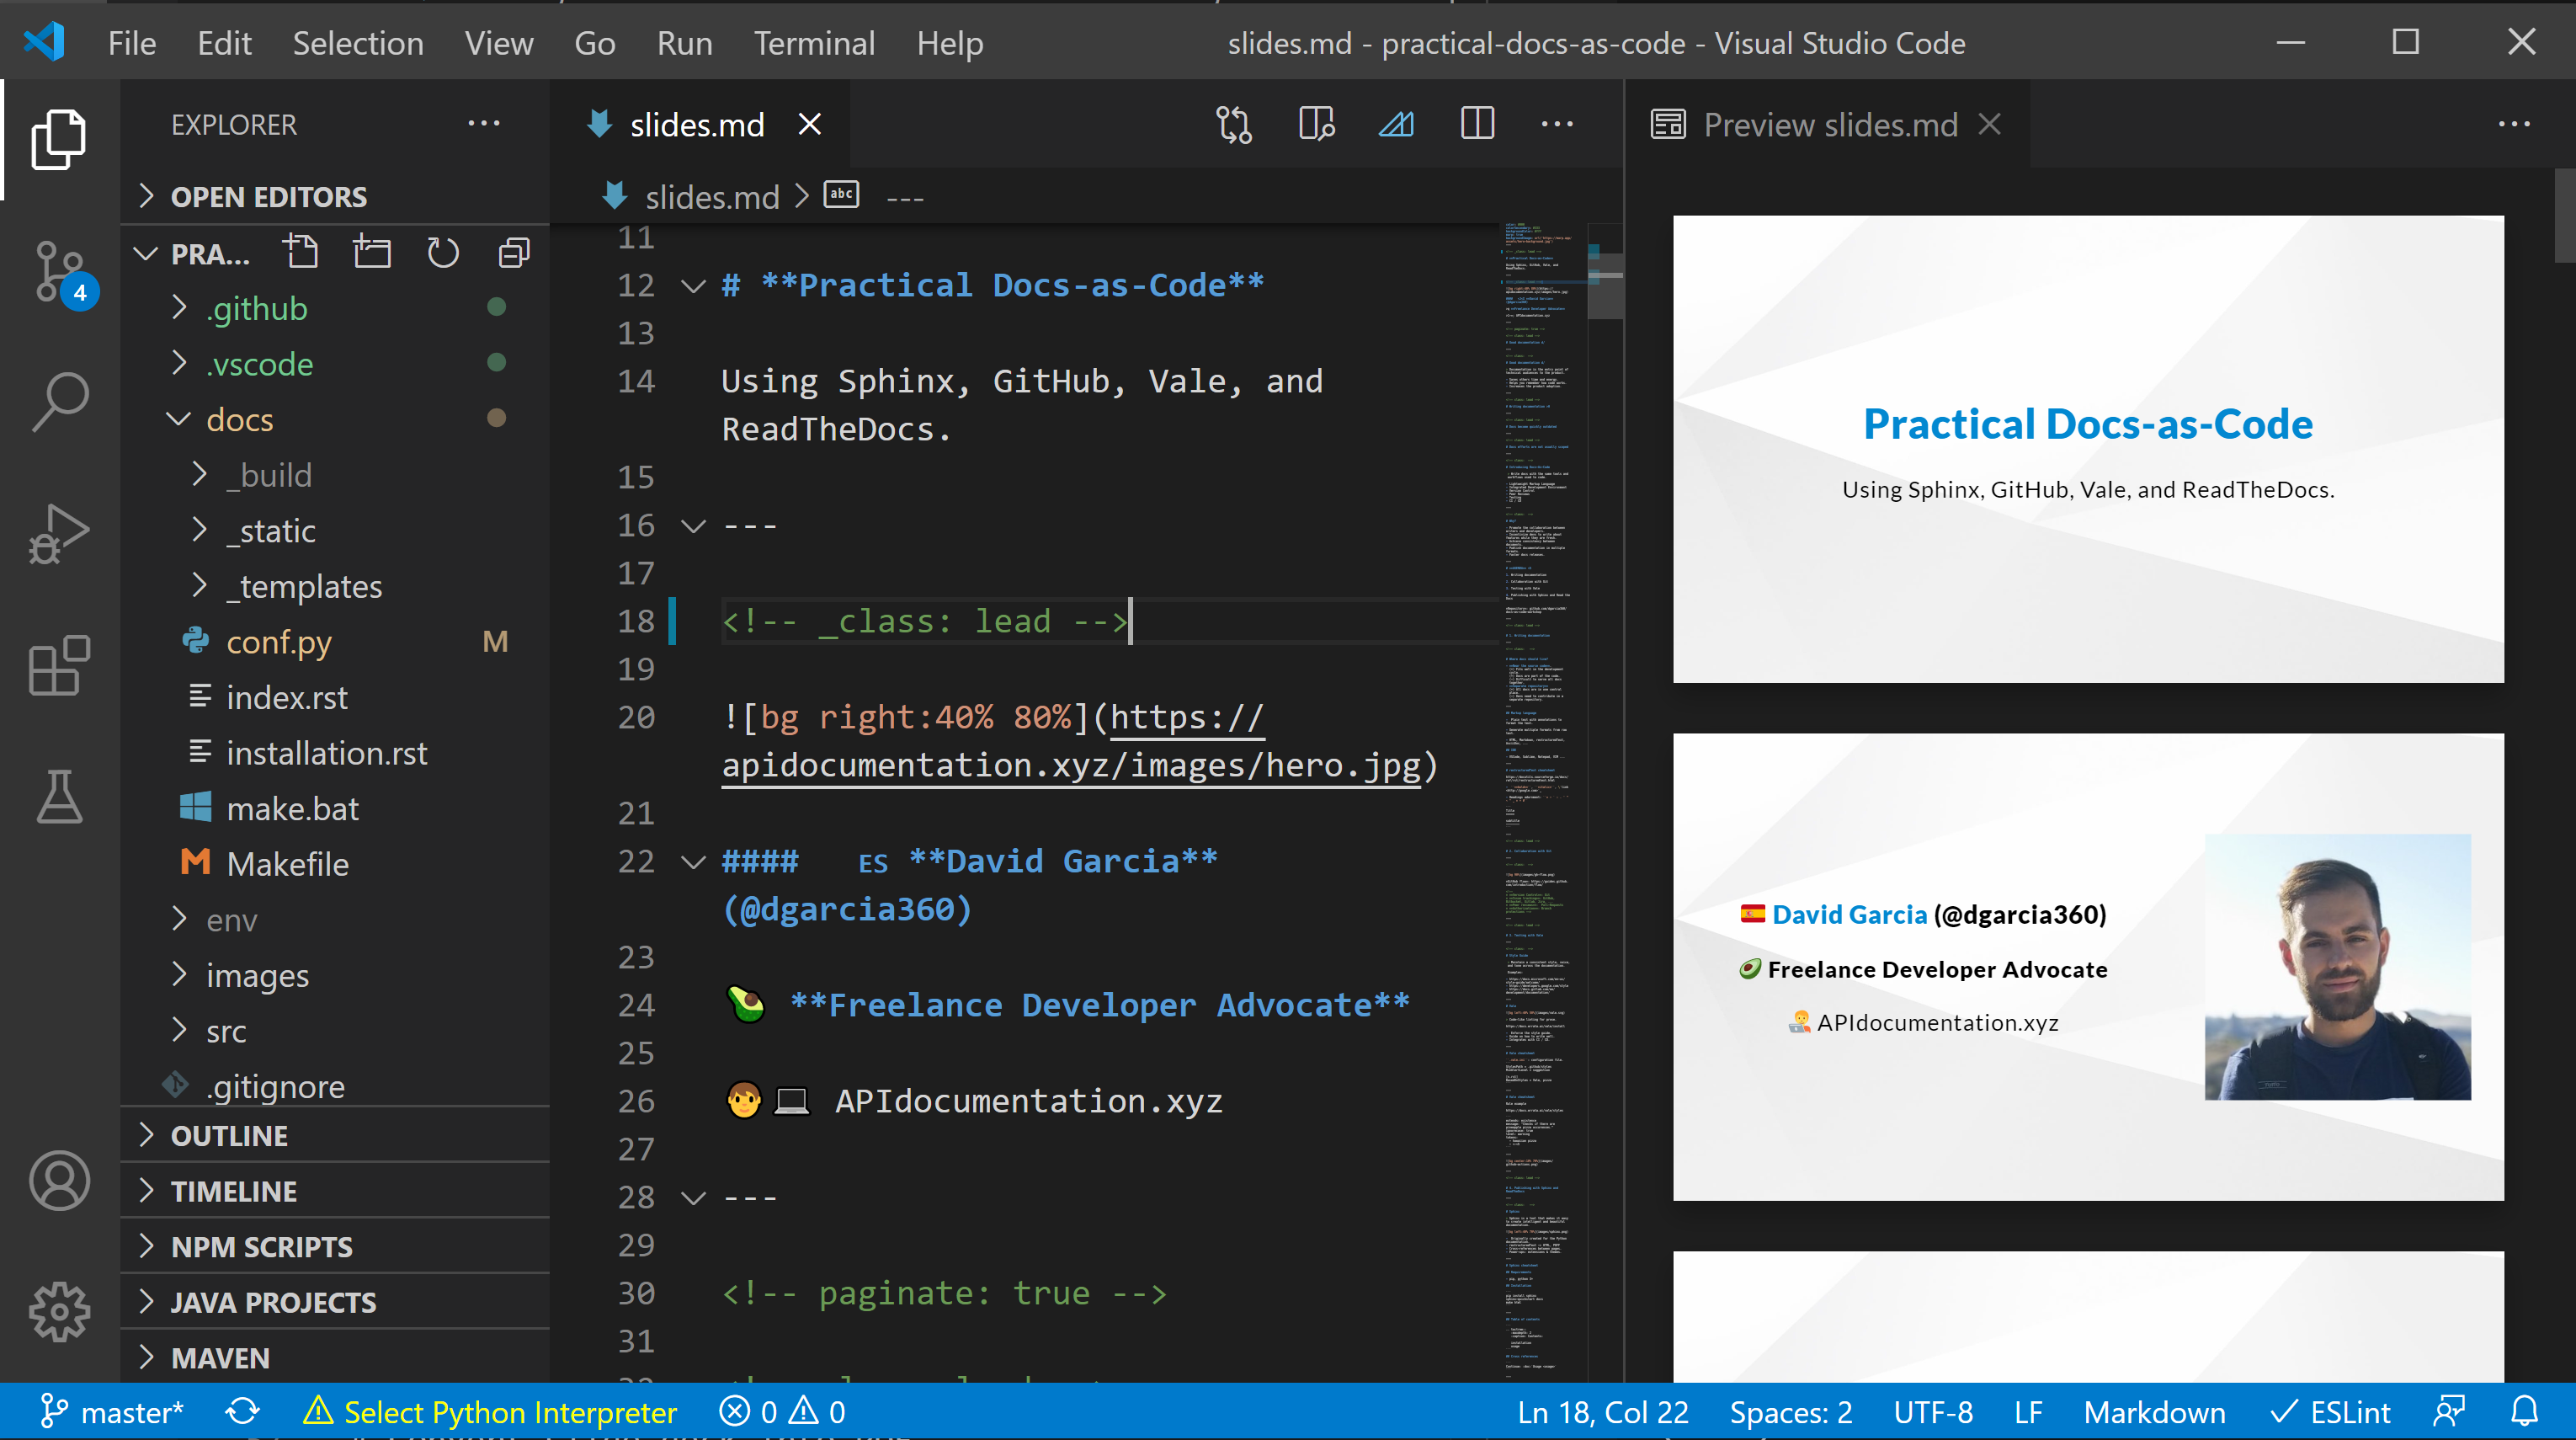
If you use Visual Studio Code, you can preview the resulting slides as you write them with the Marp Extension for VSCode.
Adding a theme
Let's change the style of the presentation. You can use one of the built-in themes. At the top of the MarkDown file, define which theme you want to apply using the directive theme. The file header should look like this:
---
theme: default
---
I've decided to go with the theme gaia for my presentation. Moreover, Marp provides other configurable directives that simultaneously apply to all the slides.
For example, I defined default values for the font color, background image, and enabled pagination for my presentation.
---
theme: gaia
color: #000
colorSecondary: #333
backgroundColor: #fff
backgroundImage: url('https://marp.app/assets/hero-background.jpg')
paginate: true
---
Styling a single slide
In some situations, you'll only want to enable a directive for a given slide. You can apply directives selectively with comments. The next code snippet shows how to disable pagination for the first slide.
<!-- _paginate: false -->

# Slide 1

* Item 1
* item 2
* Item 3
---
Another common directive used per slide is _class. Each theme may come with a set of predefined classes. For example, the theme gaia introduces the class lead. When used, this centers the slide contents.
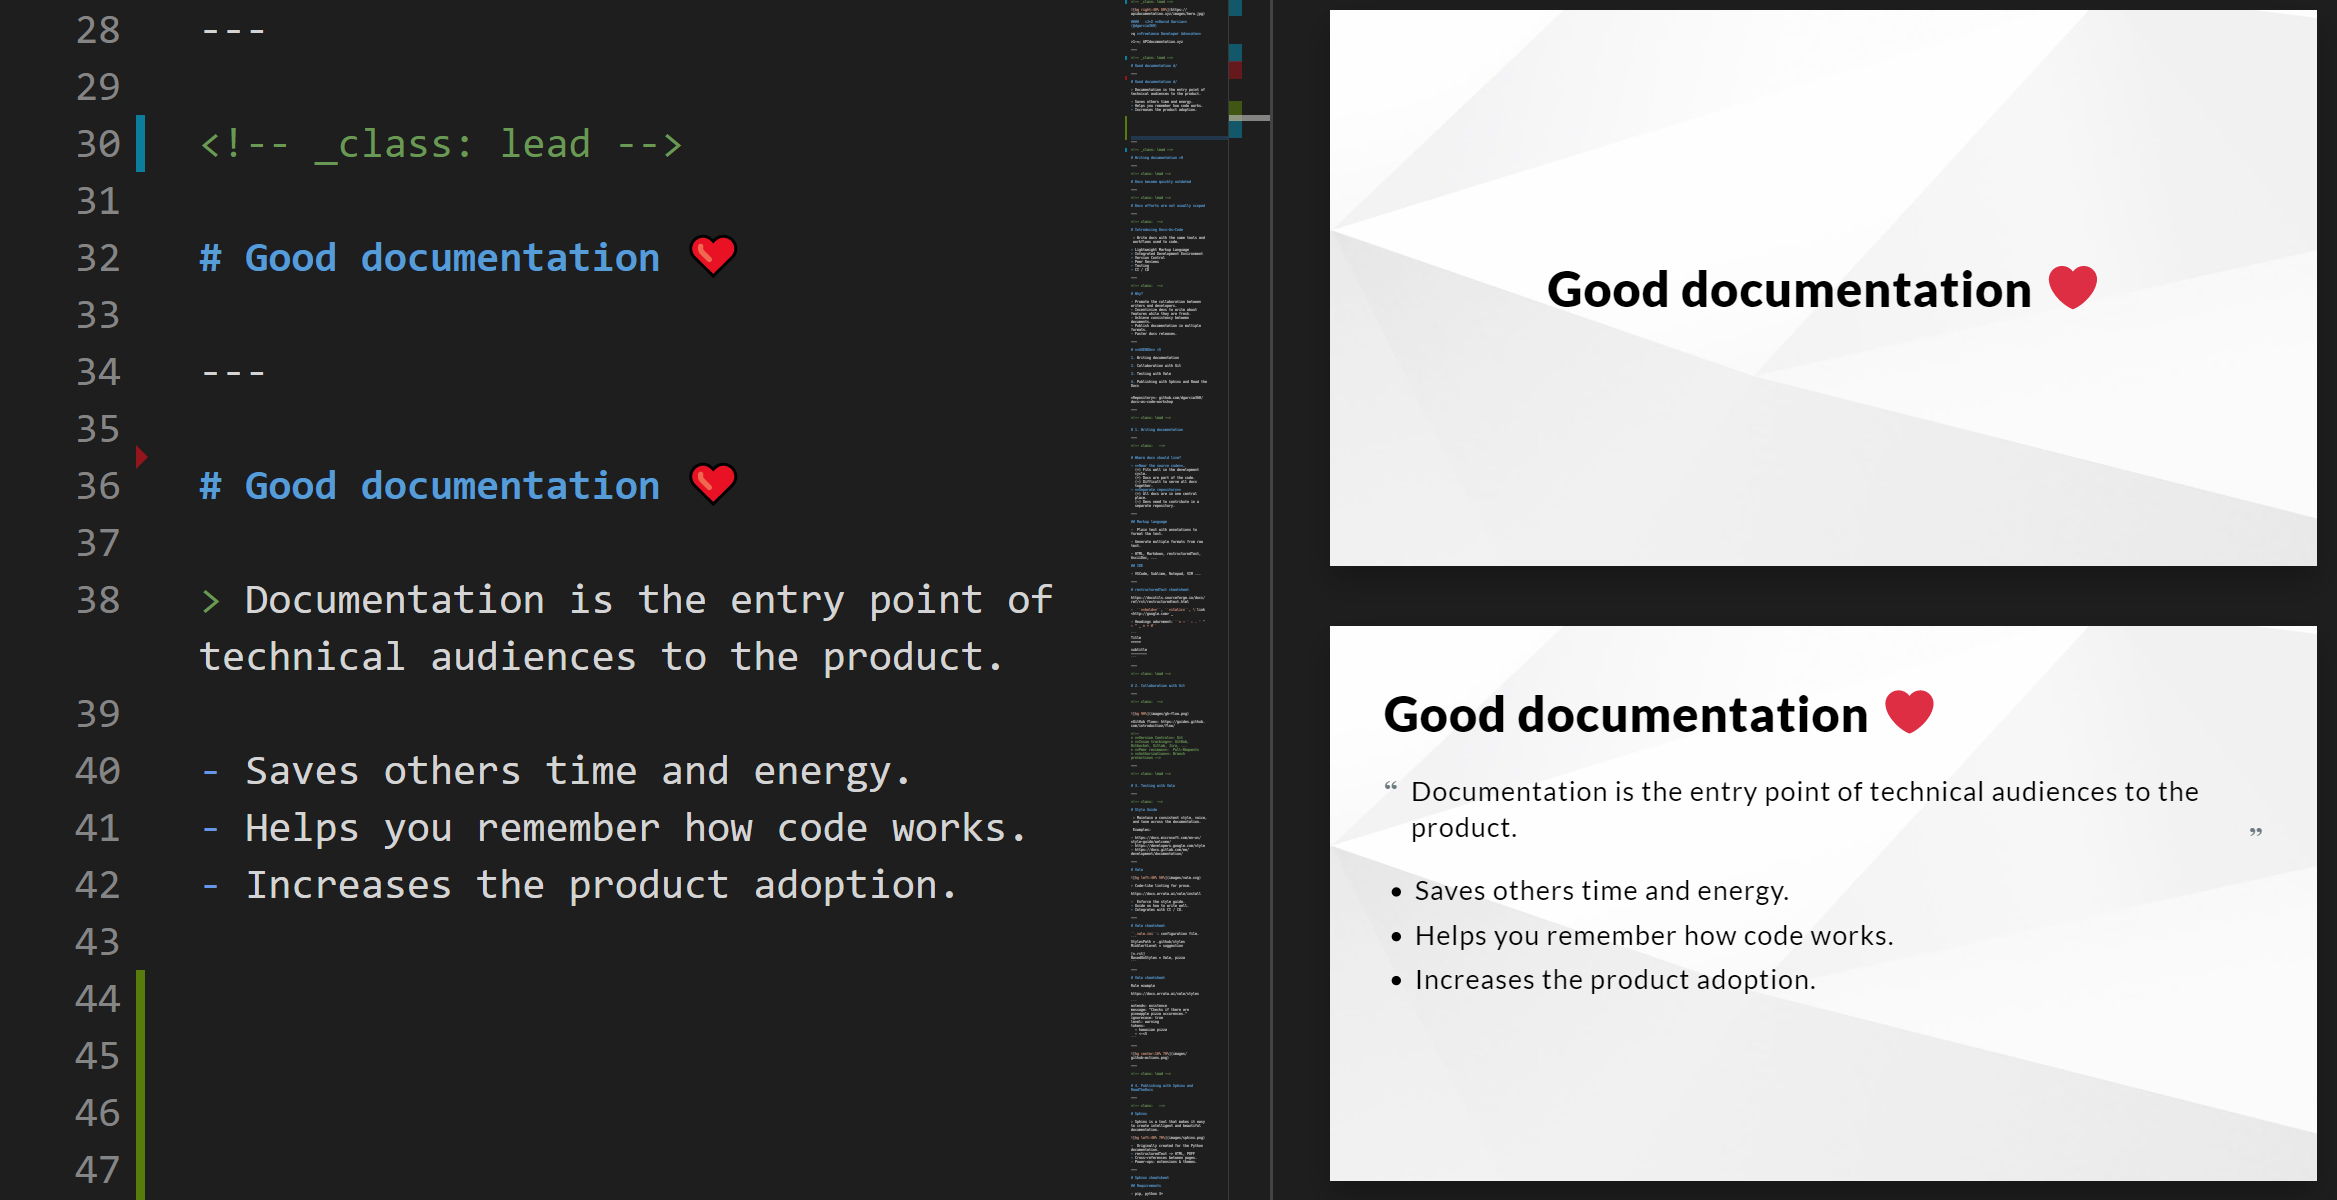
As you can see, the first slide used the class centering the title, whereas the second slide didn't, and the contents appear aligned on top.
If you're a skilled CSS developer, you might want to create a custom theme from scratch. John Wadleigh explains how to do it in Custom themes with Marp.
Working with images
A picture speaks 1,000 words. Most presentations include images, and Marp extends Markdown to define their size.
Add an image to your slides and change the size with width and height options.
You can also apply filters to images, such as adding opacity, a shadow, or even rotating the image. Here you have all the available predefined CSS filters supported. For example, the following snippet shows how to convert a photo to grayscale mode.
Marp also brings the option to use images as backgrounds. Backgrounds also accept the same filters as images and additional options to position them.
By default, all background images fit the slide, but you can use the option auto to preserve the original size.
# The image fits the slide

# The image is not rescaled

# The image is scaled in a percentual value
The options left or right position the background to the specified side.

Final thoughts
Writing all the slides in Markdown has been fun! I felt much more efficient in creating the presentation. And, the outcome was better than other slide decks I made before using other WYSWYG tools.
On the other hand, it might not work for every presentation because mastering Marp has a learning curve. Indeed, I'd not feel comfortable with the tool if I had to compose a very intricate design.