You follow a Docs as Code approach. You're writing documentation with the same tools that you use to code. The docs are hosted on GitHub, and the revision process happens through pull requests.
Efficient as this method is, it's not without its hurdles. For each pull request, you find yourself manually downloading and building the documentation to ensure that new images and markup annotations haven't break the page layout. It's a necessary step, but it disrupts your wofklow.
If this scenario resonate with you, let's explore how PushPreview can simplify your process and keep your focus on what matters most.
Step 1 - Create a PushPreview API Key
PushPreview extends the concept of GitHub Pages, offering automated, real-time preview generation for every pull request. This feature ensures your documentation is always up-to-date without manual builds.
Disclaimer: I'm the founder of PushPreview! It's free for open-source projects, and reasonably price for everyone else.
To start integrating PushPreview in your repository, follow these steps:
1. Visit https://app.pushpreview.com/accounts/signup/ and complete the registration steps.
2. On your PushPreview account, navigate to the Teams tab.

3. Under the API keys section, click Create API Key.

4. Copy the generated API key - you will be using it in the next step.
Step 2 - Configure a GitHub secret
To configure the PushPreview API key as a GitHub secret, follow these steps:
1. To set up PushPreview, first decide on the scope of its application: for a single project, go to the Settings tab of your specific GitHub repository; for organization-wide implementation across multiple repositories, head to the Settings tab of your GitHub organization.

2. Navigate to Secrets and variables > Actions.

3. Click New repository secret or New organization secret.

4. Set a new token with the following details:

- Name:
PUSHPREVIEW_TOKEN - Token: The generated API Key.
5. Click Add secret.
Step 3 - Connect PushPreview to the docs repository
With your PushPreview credentials configured in GitHub, it's time to set up the docs repository for pull request previews:
1. Navigate to the .github/workflows directory in your GitHub repository.
2. Create a new file named pushpreview.yml.
3. Paste the following content into pushpreview.yml:
name: PushPreview

on:
  pull_request_target:
    types:
      - labeled

jobs:
  preview:
    runs-on: ubuntu-latest
    if: github.event.label.name == 'preview'
    steps:
      - uses: actions/checkout@v3
      - name: Comment
        run: |
          gh pr comment ${{ github.event.pull_request.number }} --repo ${{ github.repository }} --body "⚙️ Hang tight! PushPreview is building your preview. URL will be shared soon."
        env:
          GH_TOKEN: ${{ secrets.GITHUB_TOKEN }}

      - name: Set BASE_URL
        run: echo "BASE_URL=/github/${{ github.repository }}/${{ github.event.number }}/" >> $GITHUB_ENV

      - name: Setup environment
        uses: actions/setup-node@v3
        with:
          node-version: 18

      - name: Build site
        run: |
          cd docs
          yarn install --frozen-lockfile
          yarn build

      - name: Generate preview
        uses: PushLabsHQ/pushpreview-action@1.0.5
        with:
          source-directory: ./docs/build
          github-token: ${{ secrets.GITHUB_TOKEN }}
          pushpreview-token: ${{ secrets.PUSHPREVIEW_TOKEN }}
4. Modify the Setup environment and Build site steps to suit your static site build process:
- name: Setup environment
uses: actions/setup-node@v3
with:
  node-version: 18

- name: Build site
  run: |
    cd docs
    yarn install --frozen-lockfile
    yarn build
5. Ensure the source-directory in the Generate preview step points to your HTML files location post-build:
- name: Generate preview
  uses: PushLabsHQ/pushpreview-action@1.0.5
  with:
    source-directory: ./docs/build
    github-token: ${{ secrets.GITHUB_TOKEN }}
    pushpreview-token: ${{ secrets.PUSHPREVIEW_TOKEN }}
6. Save and push the updated pushpreview.yml to your repository main branch.
Note: Enabling pull request previews for Docusaurus? You will also need to follow an extra step. For more information, see Pull request previews for Docusaurus.
Step 4 - Trigger your first preview
To ensure PushPreview is functioning correctly:
1. Create a new pull request in your GitHub repository.
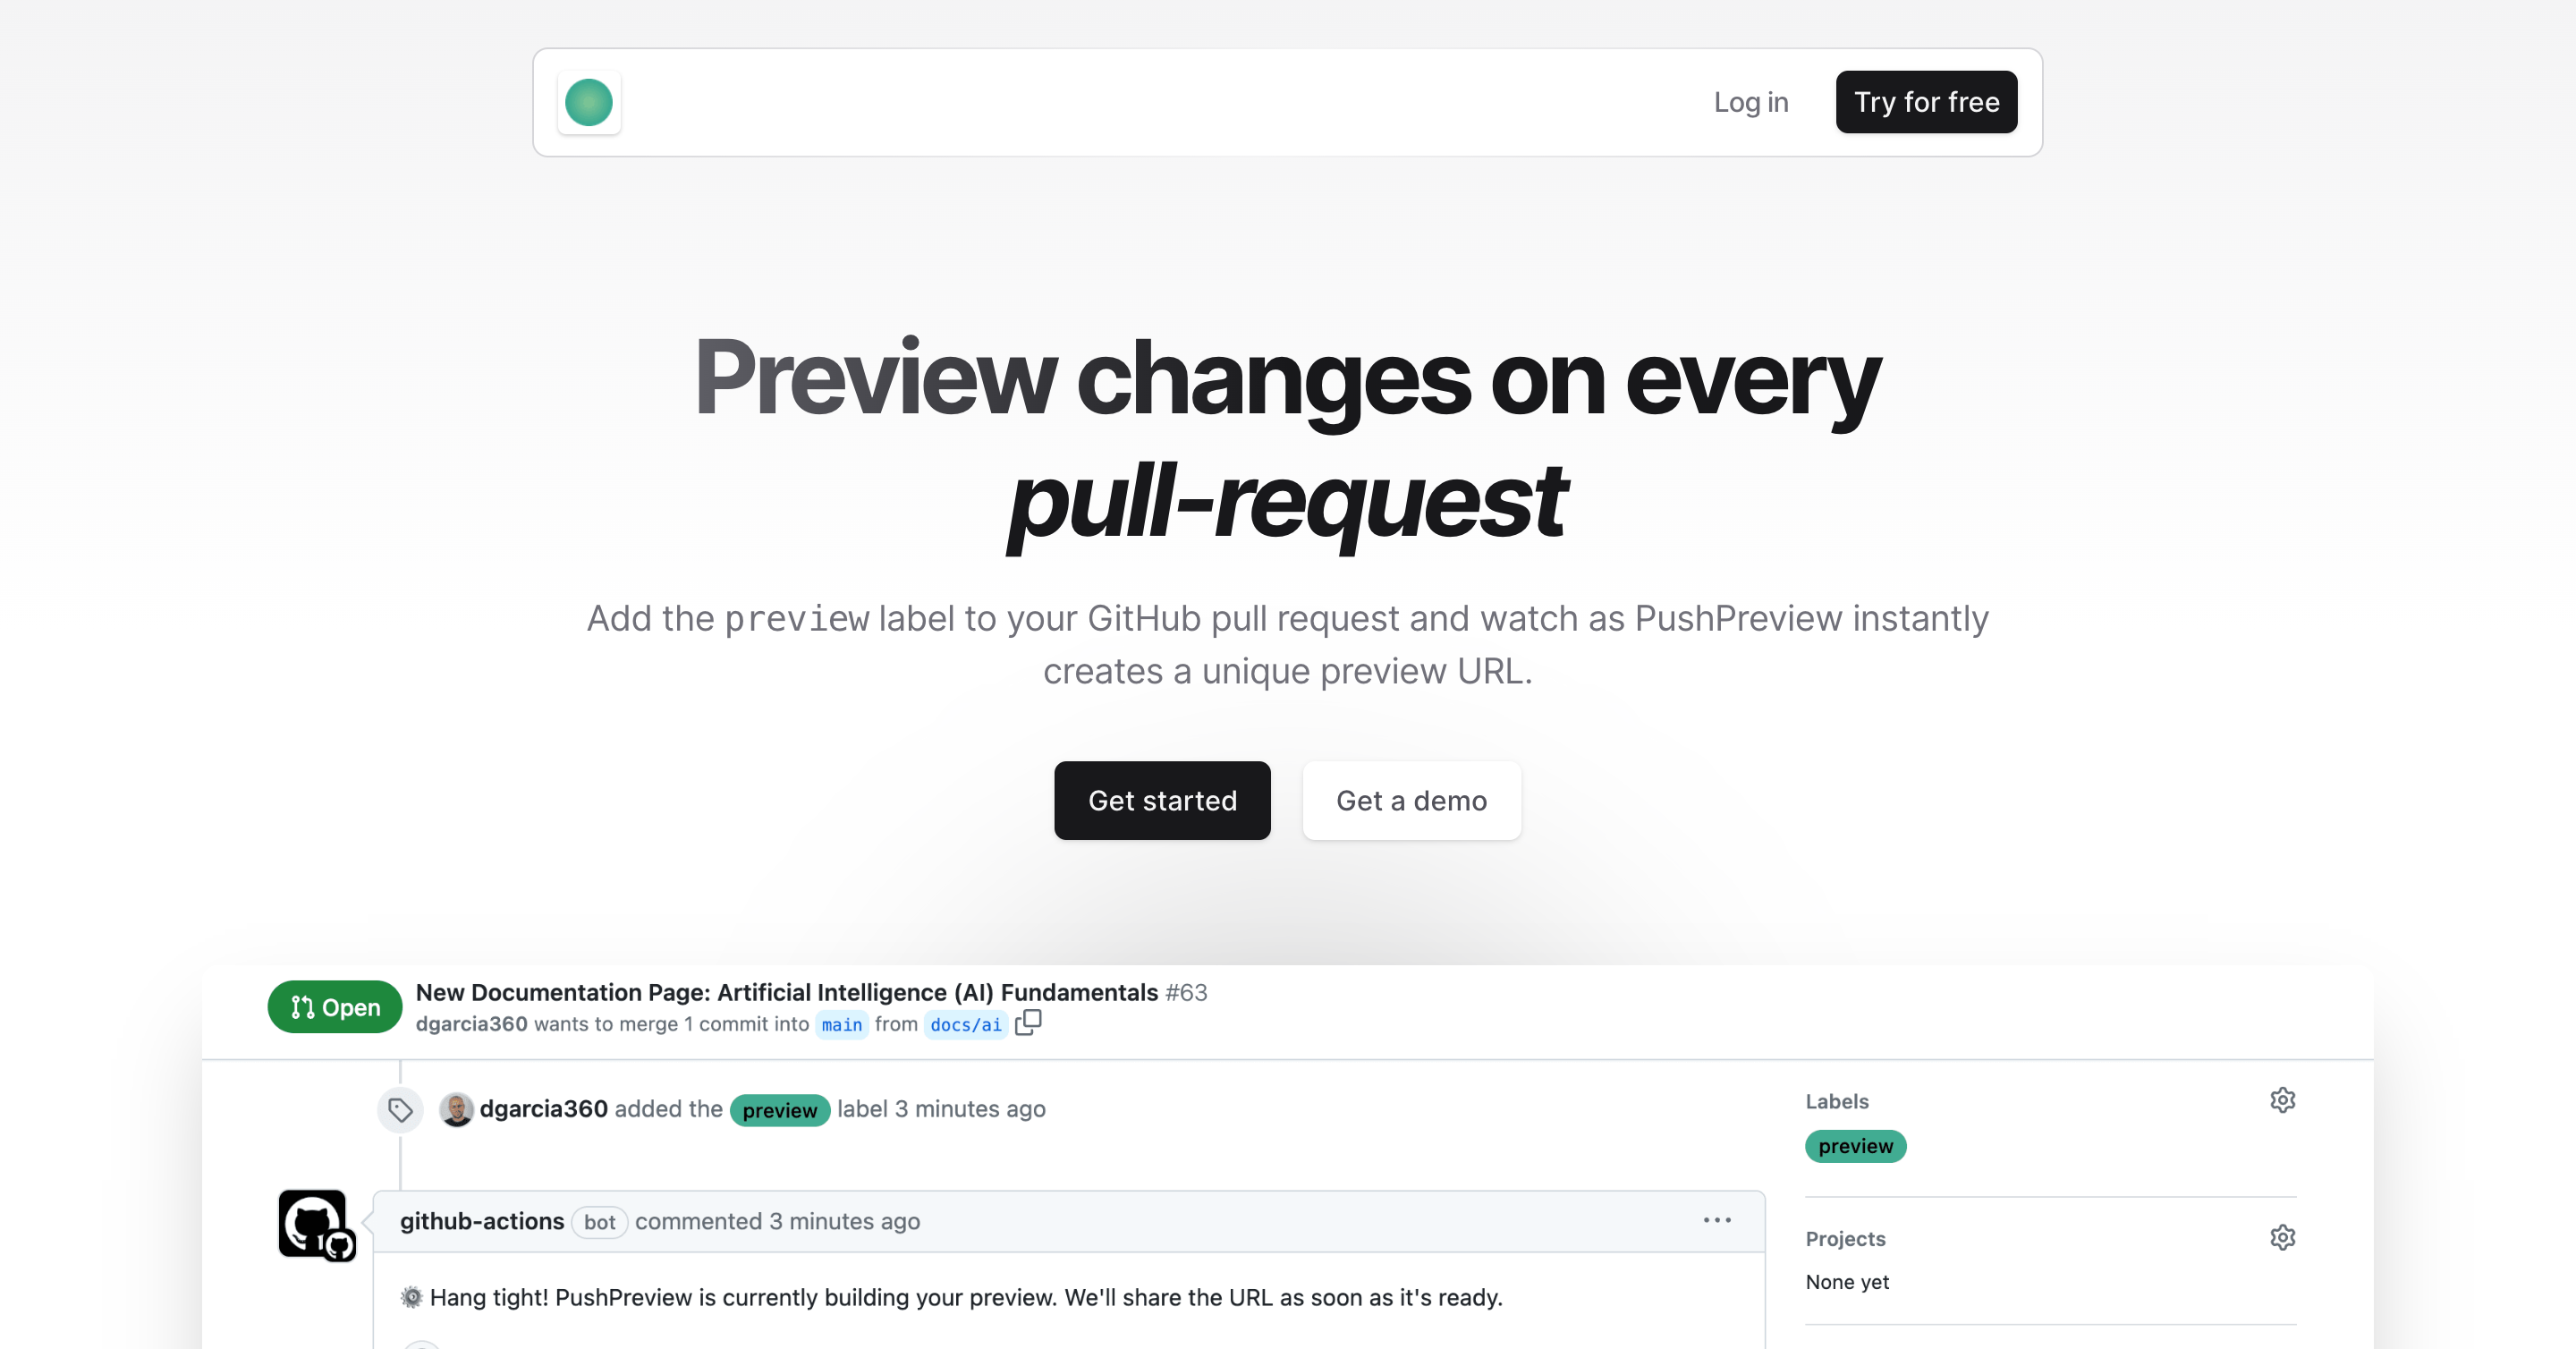
2. Add the preview label to your new pull request.

Tip: If you don't see the preview label, create it by following the steps outlined in Creating a label.
3. Wait for PushPreview to process the pull request and post a comment with a preview link.

4. Click the link to view the changes.
Congratulations on setting up PushPreview! Now, your team can view live previews of changes in pull requests, boosting collaboration and review efficiency.
If you encounter setup issues setup, check the GitHub Actions logs for troubleshooting. With the insights from the logs, apply the necessary fixes and trigger another build. Each iteration brings you closer to a more automated and efficient documentation process.
Final thoughts
I hope PushPreview significantly improves your documentation management and review process. It's designed to streamline your team's workflow, saving time and effort that can be better spent on other critical aspects of development.
I encourage you to try PushPreview and share your experiences. Your feedback is crucial for improving the tool and making documentation reviews more efficient and collaborative.